A professional headshot is one of the most important photos you will ever have. It appears on your LinkedIn profile, company website, email signature, conference badges, business cards, and speaker bios. In many cases, it is the first visual impression you make on a potential client, employer, or collaborator.
The problem is that professional headshot photography is expensive. A single session with a professional photographer typically costs between 200 and 500 dollars, and that is before editing fees. For freelancers, job seekers, small business owners, and anyone on a budget, that cost can be hard to justify.
The good news is that you can take a genuinely professional-looking headshot at home with equipment you probably already own. The secret is not expensive cameras or studio lighting. It is understanding a few basic principles of lighting, composition, and post-processing, and then using a free AI tool to clean up the background.
What You Need to Get Started
You do not need much. Here is the complete list of what you need to take a professional headshot at home:
A smartphone with a decent camera. Any phone made in the last four years will work. The rear camera is almost always better than the front-facing camera, so plan to use that.
A plain background. A blank wall in a neutral color works well. If your walls are busy or colorful, hang a plain bedsheet or a piece of fabric. White, light gray, and navy blue are the most versatile choices.
Natural light. A window that provides soft, indirect daylight is ideal. Direct sunlight creates harsh shadows, so look for a window that does not have sun shining directly through it.
A friend to take the photo (or a tripod). Having someone else take the photo is much easier than using a timer, but a cheap phone tripod works too.
A chair or stool. Sitting tends to produce more natural and relaxed-looking headshots than standing.
Setting Up Your Shot
Lighting
Lighting is the single most important factor in a great headshot. The best lighting for headshots is soft, even, and comes from the side. Position yourself facing a window at about a 45-degree angle so the light falls across your face naturally. This creates gentle shadows that add depth and dimension to your face.
Avoid overhead lighting, which creates unflattering shadows under your eyes and nose. Also avoid having the window directly behind you, which would turn you into a silhouette. If the light is too harsh, hang a sheer curtain over the window to diffuse it.
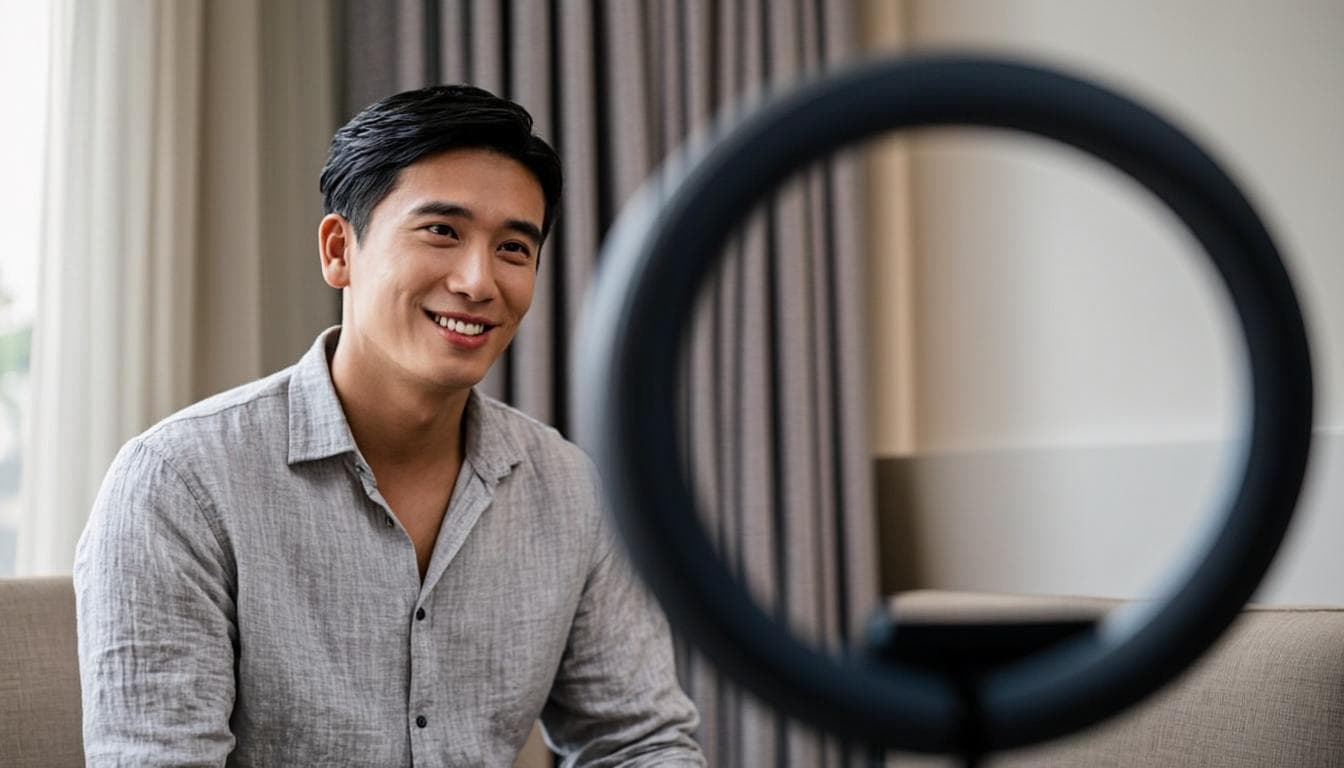
If you are shooting in the evening or a room without good natural light, a ring light is an excellent and affordable alternative. Ring lights provide even, front-facing illumination that minimizes shadows and produces a clean, professional look.
Background
Your background does not need to be perfect because you will remove it with AI later. However, having a relatively plain background makes the AI's job easier and produces a cleaner initial cutout. A light-colored wall is ideal. If you do not have a suitable wall, a large piece of white poster board or a plain bedsheet taped to the wall works perfectly.
Camera Position
The camera should be at your eye level or slightly above. This is the most flattering angle for most people. If the camera is too low, it can make you look larger than you are. If it is too high, it can make your head look unnaturally small. Have the person taking the photo hold the phone at your eye level and look directly at the camera lens.
Posing Tips That Make a Difference
The way you position yourself in front of the camera has a huge impact on how your headshot looks. Here are some simple but effective posing tips:
Sit up straight. Good posture instantly makes you look more confident and professional. Roll your shoulders back and down, and keep your chin parallel to the floor.
Angle your body slightly. Rather than facing the camera straight on, turn your body about 15 to 20 degrees to one side. This creates a more dynamic and flattering silhouette.
Think about something that makes you smile. A forced smile looks unnatural. Think of a genuine moment that made you happy, and let that expression show naturally.
Wear what you would wear to a meeting. Solid colors work best. Avoid busy patterns, logos, and very bright colors that might distract from your face.
Take lots of photos. Professional photographers typically shoot dozens of frames to get one perfect shot. Take at least 15 to 20 photos with slightly different expressions and angles. You can pick the best one later.
Editing Your Headshot: Background Removal and Beyond
Once you have selected your best photo, it is time to edit it. The most impactful edit you can make is removing the background and replacing it with a clean, professional color.
Step 1: Remove the Background
Upload your selected photo to a browser-based background removal tool like SlickBG. The AI will detect your face and body, separate you from the background, and produce a clean transparent PNG. This takes about 5 seconds on a modern device.
Because headshots are personal and sensitive images, using a tool that processes everything in your browser is especially important. Your photo never gets uploaded to any server, so there is zero risk of your face data being stored or misused.
Step 2: Choose Your Background Color
The background color you choose depends on where the headshot will be used. Here are some tried-and-true options:
Light gray. The most popular and versatile choice. Works well for LinkedIn, company websites, and almost any professional context. Not as harsh as pure white.
Navy blue. Conveys trust, authority, and professionalism. Excellent for executives, lawyers, consultants, and anyone in a leadership role.
White. Required for passport photos and some ID photos. Also works well for minimalist design aesthetics.
Soft gradient. A subtle gradient from light gray to white adds depth and looks polished for personal branding and creative professionals.
Step 3: Final Touches
After adding your background, consider a few final adjustments: slight brightness and contrast enhancement to make the photo pop, a very subtle skin smoothing (do not overdo this), and a gentle sharpening of the eyes. Most of these can be done with free tools like the photo editor built into your phone or a free online editor.
Common Headshot Mistakes and How to Avoid Them
After reviewing hundreds of headshots, here are the most common mistakes people make:
Using a selfie. Selfies have a recognizable angle and perspective that does not look professional. Always have someone else take the photo, or use a tripod at arm's length with the rear camera.
Busy or distracting backgrounds. A bookshelf, kitchen, or outdoor scene behind you pulls attention away from your face. Remove the background entirely and replace it with a solid color.
Too much editing. Heavy filters, skin smoothing, and color adjustments can make you look unnatural. The goal is to look like the best version of yourself, not a different person entirely.
Outdated photos. If your headshot is more than three years old, it is time for a new one. People change, and your headshot should reflect how you currently look.
The Bottom Line
A great headshot is an investment in your professional image, and it does not require a professional photographer or expensive equipment. With a smartphone, natural light, a plain background, and a free AI background removal tool, you can create a headshot that looks like it was taken in a professional studio. The key is understanding the basics of lighting and composition, taking multiple shots, and using AI to handle the background replacement. Your next career opportunity might depend on that photo, so it is worth taking the time to get it right.
jvkings
Written by jvkings. Published on April 22, 2026.