Time is the one resource no business owner or creative professional ever has enough of. If you are processing product photos for an online store, preparing assets for a marketing campaign, or editing images for a client project, doing them one at a time can eat up hours of your day. Batch image processing solves this problem by letting you apply the same edit to multiple images at once.
In this guide, we will walk through a complete batch image processing workflow focused on the most common task: removing backgrounds from multiple photos. By the end, you will know exactly how to process 20 images in under 5 minutes, from upload to download.
Why Batch Processing Matters
Consider a typical scenario. You are an e-commerce seller with a new product line of 20 items. Each product needs its background removed and replaced with a clean white background for your Shopify store. If you process each image individually, and each one takes about 60 seconds (including upload, processing, and download), that is 20 minutes of repetitive work.
With batch processing, you upload all 20 images at once, and the AI processes them in parallel. The total time is roughly the same as processing a single image (since they run concurrently), plus the upload and download time. In practice, the entire workflow from start to finish takes about 3 to 5 minutes.
That is a 4x to 7x time savings. For businesses that regularly process product photos, this adds up to hours saved every week and significantly faster time-to-market for new products.
When to Use Batch Processing
Batch processing is not just for e-commerce. Here are some of the most common use cases:
E-commerce product catalogs. Removing backgrounds from new product photos, applying consistent backgrounds across an entire catalog, and preparing images for marketplace listings.
Team headshots. Processing headshots for an entire company team page. Each photo gets the same clean background color for visual consistency.
Social media content batches. Preparing a week of social media posts at once. Remove backgrounds, add branded backgrounds, and have everything ready to schedule.
Client work. Designers and agencies often receive batches of images from clients. Batch processing makes it fast to prepare these for use in designs, presentations, or mockups.
Print materials. Preparing product images for a catalog, brochure, or flyer. Batch background removal ensures consistency across all images in the document.
Step-by-Step Batch Processing Workflow
Step 1: Organize Your Images
Before you start, take a few minutes to organize your images. Put all the photos you want to process in a single folder. Check that they are all in a supported format (PNG, JPG, WebP, GIF, BMP, or AVIF). If any images need cropping or rotation, do that first because the background removal AI works best with properly oriented photos.
Name your files descriptively if possible. This makes it easier to identify the results after processing. For example, instead of IMG_0001.jpg, use something like red-sneakers-front.jpg.
Step 2: Upload in Bulk
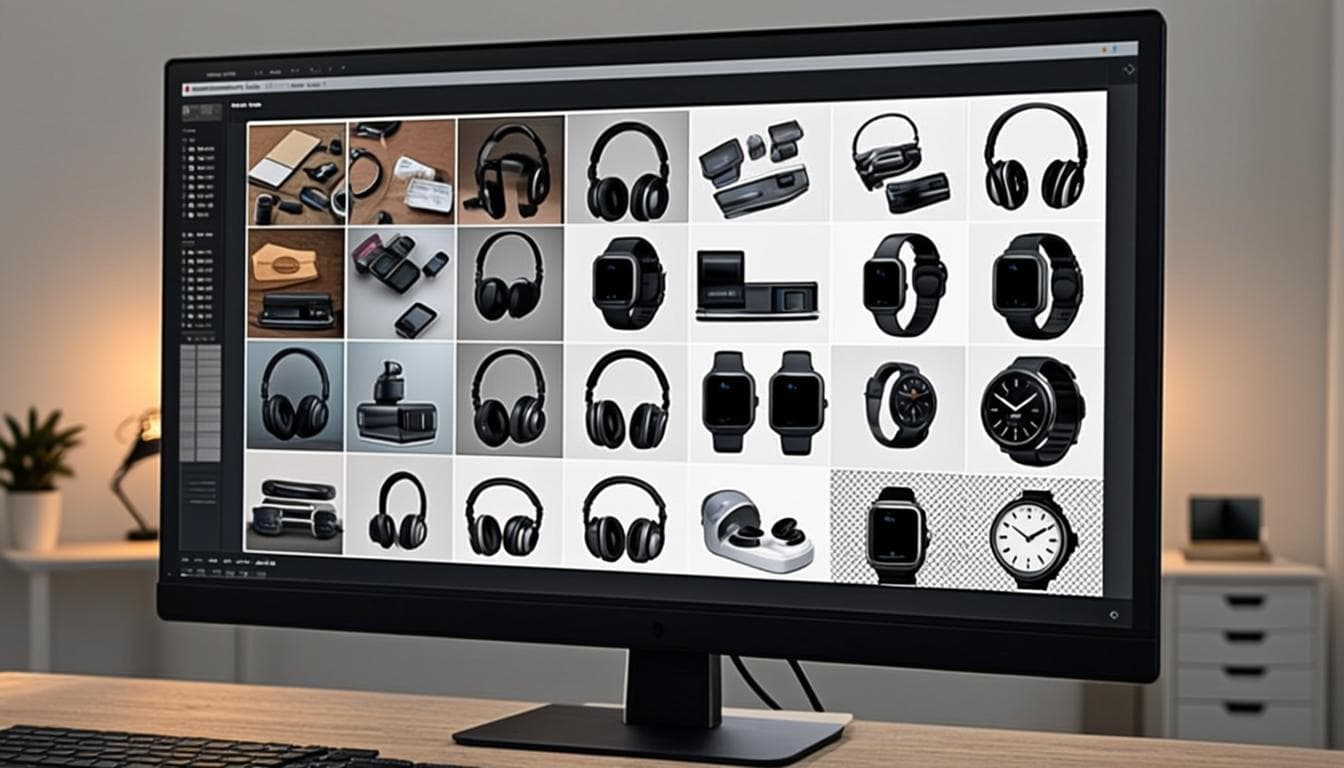
Navigate to the bulk background removal tool and select all your images at once. Most tools support drag-and-drop, so you can literally select your entire folder and drop it onto the upload area. The tool will show you a preview of all uploaded images and let you review them before processing.
If you are using SlickBG, you can upload up to 20 images at once. Each image can be up to 20MB in size, which is more than enough for high-resolution product photos.
Step 3: Process and Monitor
Click the process button and the AI gets to work. Because the images are processed in parallel (not one after another), the total processing time is roughly equal to the time it takes to process the single slowest image, not the sum of all images.
On a modern computer, each image typically takes 3 to 10 seconds to process. With parallel processing, a batch of 20 images completes in about 10 to 15 seconds of actual processing time. The total time including upload and download is usually under 5 minutes.
Most tools show a progress indicator so you can see which images have been processed and which are still in the queue. Some show real-time previews as each image completes.
Step 4: Review and Download
Once all images are processed, review the results. Look for any images where the background removal did not produce a clean result. This is rare with modern AI but can happen with very complex images. You can reprocess individual images if needed.
When you are satisfied with the results, download them all at once as a ZIP file. This is much more efficient than downloading each image individually. The ZIP file preserves your original filenames, so you can easily match results to source images.
Step 5: Apply Consistent Backgrounds (Optional)
If you want to go beyond just removing backgrounds and actually replace them with a specific color or image, use a bulk editor tool. This lets you select a background color, gradient, or image and apply it to all processed images at once.
For e-commerce, pure white is the most common choice. For team headshots, a consistent light gray or navy blue looks professional. For social media, you might choose a brand color or gradient.
Tips for Getting the Best Batch Results
Keep source images consistent. If all your source photos have similar lighting, background type, and composition, the batch results will be more uniform. This is especially important for product catalogs where consistency matters.
Use high-resolution source images. The AI works best with images that are at least 1000 pixels on the longest side. Higher resolution source images produce higher quality cutouts.
Check the results at full zoom. After downloading, open a few results at 200 percent zoom to check edge quality. If you spot issues, you can reprocess those specific images.
Keep originals as backups. Never delete your original photos after batch processing. AI models improve over time, and you may want to reprocess with a better model in the future.
Comparing Batch Processing Methods
There are several ways to batch process images, each with different trade-offs:
Browser-based AI tools. Free, no installation required, processes everything locally for maximum privacy. The best option for most users. Limited to about 20 images per batch but multiple batches can be run sequentially.
Desktop software. Photoshop actions and similar automation features can batch process hundreds of images. Requires a subscription and technical knowledge to set up. Images stay on your computer.
Cloud APIs. For developers, cloud-based APIs can process large volumes of images programmatically. Requires coding knowledge and images are uploaded to a third-party server.
Plugin-based tools. Figma plugins, Photoshop extensions, and similar tools integrate directly into your existing workflow. Convenient but may have limited batch capabilities.
The Bottom Line
Batch image processing is one of the most impactful time-saving techniques available to anyone who works with images regularly. What would take 20 to 30 minutes of manual editing can be completed in under 5 minutes with the right tools. The key is choosing a tool that processes images in parallel, lets you download results as a single ZIP file, and ideally keeps your images private by processing them locally in your browser. Once you integrate batch processing into your workflow, you will wonder how you ever managed without it.
jvkings
Written by jvkings. Published on March 12, 2026.